30 Best Tips for Teaching Letters and Sounds + FREEBIES
This post may contain affiliate links. As an Amazon affiliate, we earn from qualifying purchases.
Here you’ll find 30 best practices for teaching letters and sounds to kids in pre-k through 1st grade, including those with disabilities and EL students. Included are many research-based ideas, as well as practical ways and resources to implement best practices with your students.
Why It’s Important
Teaching letters and letter sounds is foundational! It’s considered the cornerstone for reading, writing, and spelling.
We need to ensure that every single one of our students has a firm understanding of these print concepts so that they can be successful readers and writers as they grow in their learning.
Using research-based methods and resources aligned with the Science of Reading (SOR) is imperative. We want to teach these foundational concepts in a way that science shows the brain learns most effectively!
The 30 tips outlined below support structured literacy instruction and provide practical ways that all primary teachers can learn and implement these best practices!
We’d love to hear about your experience using these tips! If you have any other tips, please share them with us in the comments below!
30 Tips to Teach Letters & Sounds
1. Teach short vowels first.
Make sure your activities reinforce short vowel sounds. For example, when teaching letter A, do not use words like “Airplane” or “Acorn” since these do not have the short /ă/ sound.
2. Use hand motions.
Use hand motions (or visual cues) that go along with each keyword and letter to appeal to kinesthetic learners. Many reading programs use their own hand motions; otherwise, sign language is great and provides a practical skill for kids to learn!
3. Introduce lowercase letters.
When teaching letters and sounds, start with lowercase letters, then quickly introduce capital letters too. Students should practice identifying and matching uppercase and lowercase letters.
Once they begin reading in text, they’ll need to be able to quickly identify BOTH capital and lowercase letters.
4. Work on vowel intensives.
Spend a few minutes each day working specifically on short vowel sounds. Vowels are tricky for all kids, so give kids explicit teaching, modeling, and practice differentiating between vowel sounds in words.
You can provide practice at the sound level or syllable level. For example: Teacher says “The sound is /a/” and kids hold up the letter a. At the syllable level, you can say “The syllable is ‘og'” (a nonsense VC syllable) or “The syllable is ‘mod'” (a nonsense CVC syllable). Using nonsense syllables is preferred, unless you’re working with EL students.
5. Use multisensory strategies.
Build fine motor skills and engagement using hands-on, multimodal activities. Research shows engaging the senses helps information to stick. Colorful magnetic letters, tactile sandpaper letters, play dough, and craft sand are great options!
We also highly recommend this multisensory dyslexia and dysgraphia learning software (use code LM10 for 10% off).
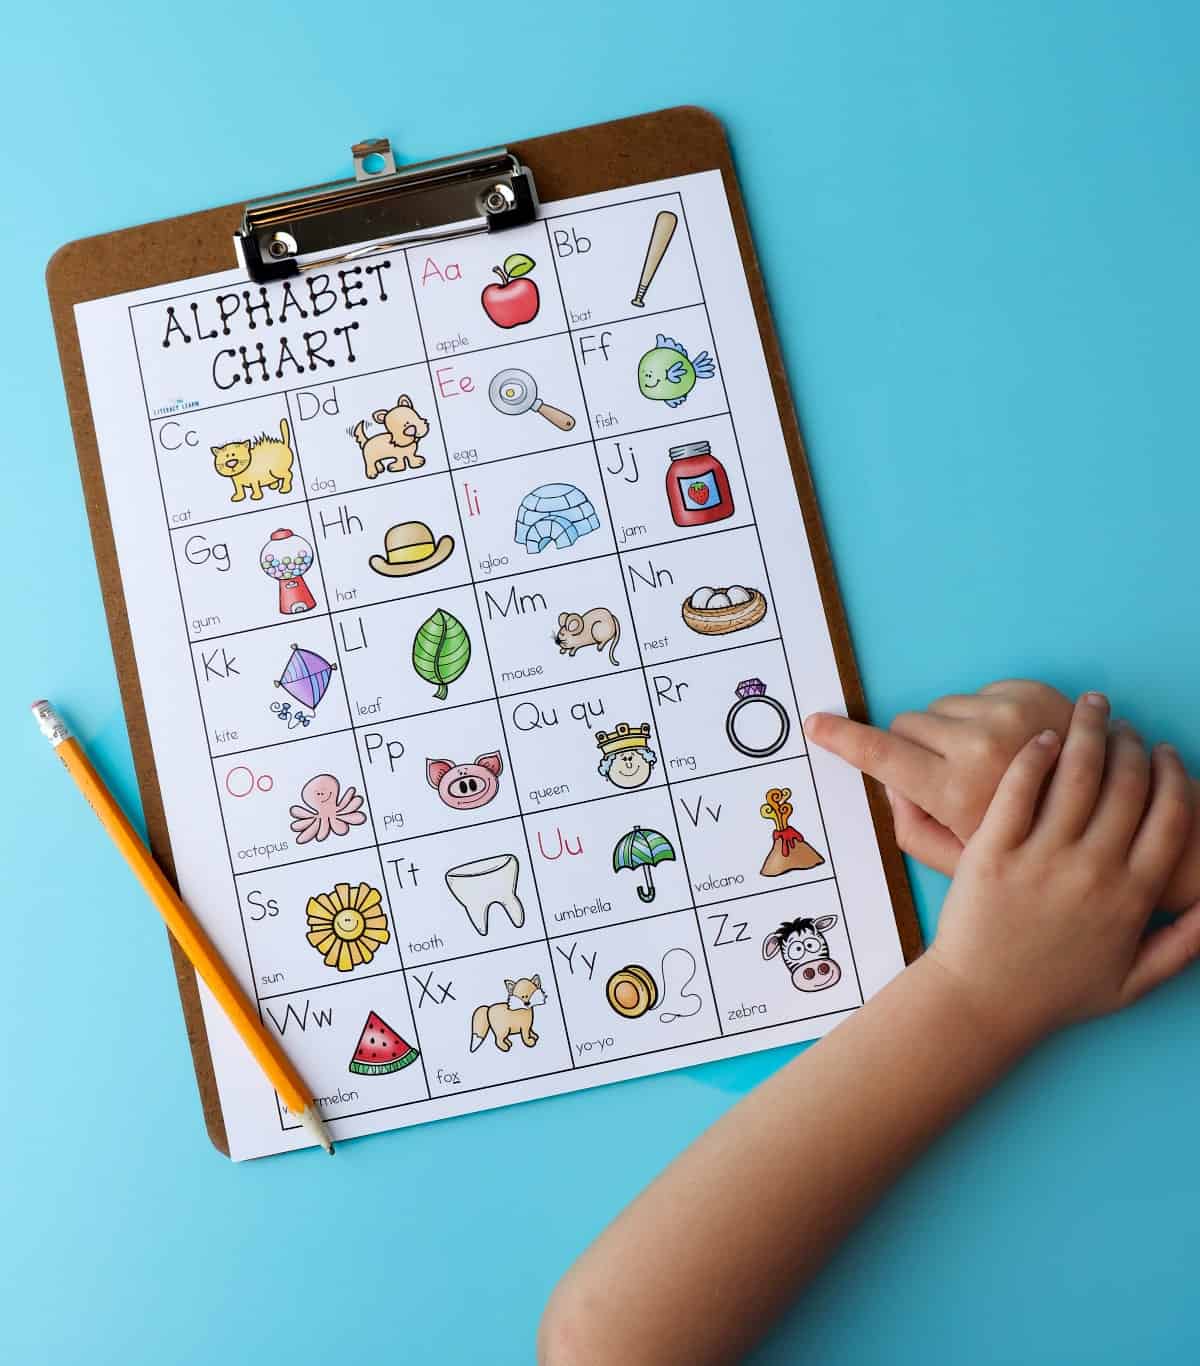
6. Use linking words.
Use a linking word for each letter with a picture as a keyword. Hang up an ABC chart (pictured above) as an anchor for kids to reference and use matching phonetic flashcards or picture match printables as well.
7. Teach letter names, sounds, AND letter formation at the same time.
As students learn the name and sound of each letter, they should also learn how to write it. Using trace, copy, cover, avert and simultaneous oral spelling (SOS) is a perfect activity for this.
Kids should be taught to spell out loud saying “K says /k/.” Many letter names give a hint as to the sound it makes (just a few are tricky letters).
8. Use the 3-part drill procedure.
The OG 3 part drill is research-based and highly effective and takes only a few minutes per day to review known concepts. This includes a visual drill, an auditory drill, and blending drill.
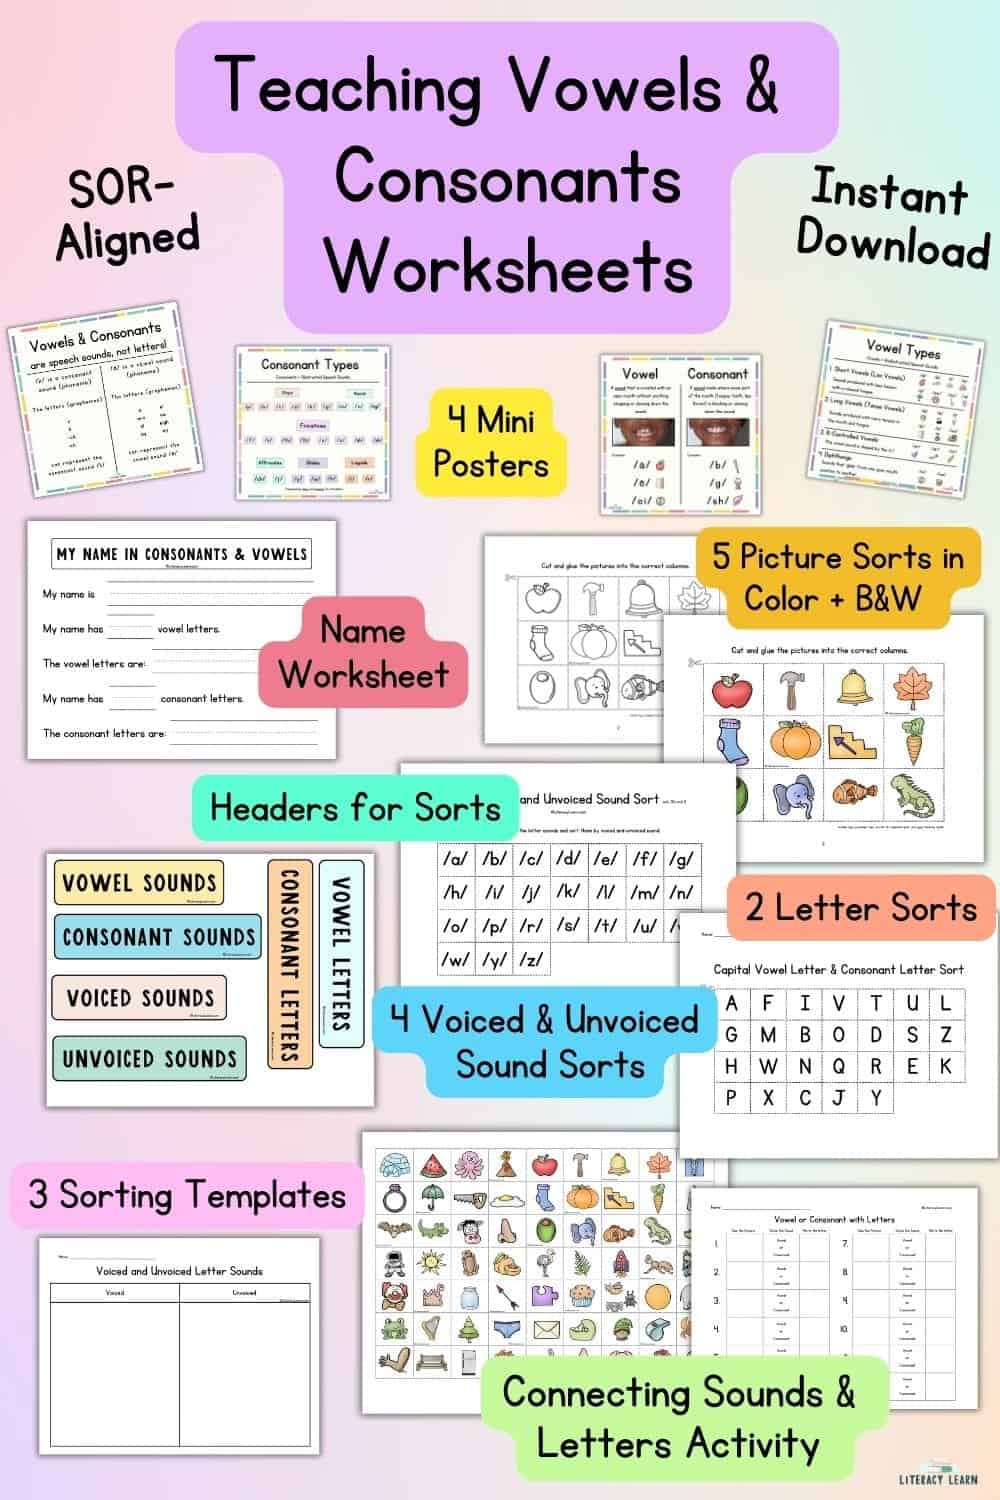
9. Teach consonants and vowels.
Teach kids these academic terms and the differences between the sounds. Use our free vowel and consonant worksheets to help solidify this foundational knowledge. Anything put to a song is a wonderful way to teach young kids! So we sing the “Vowel Song” to the tune of BINGO. It’s super catchy and easy. There are tons of vowel songs options on Youtube that you can play as well.
10. Connect reading and writing.
Labeling pictures is an age-appropriate activity for this skill. You can also use sound boxes or word ladders to help solidify beginning, medial, and final sounds in words.
11. Teach word families, one at a time.
Word families are used to reinforce rhyming, like tap, map, pap, lap, etc.
Be sure to get our printable CVC word families anchor chart!
12. Use sound sorts.
Use sound sorts to solidify the differences in sounds that they hear in words. Magnetic letters and other hands on manipulatives like beginning sound sorts or these beginning sound tubs are perfect for this!
Get our fun ice cream cone sound sort that helps students practice identifying written words that contain a specific speech sound.
13. Use continuous sounds when blending.
Start with m, s, f, l, r, n, v, z since these letters have continuous sounds that run right into the vowel sounds in words. It makes the skill of blending easier for kids who are struggling.
Read all about continuous blending and get a free blending sheet that uses only continuous sounds.
14. Use a mirror.
Invest in a class set of individual mirrors. Mirrors let kids see their mouth and tongue placement when they say the letter sounds. Include sound/letter matching with mouth articulation cards on your sound wall.
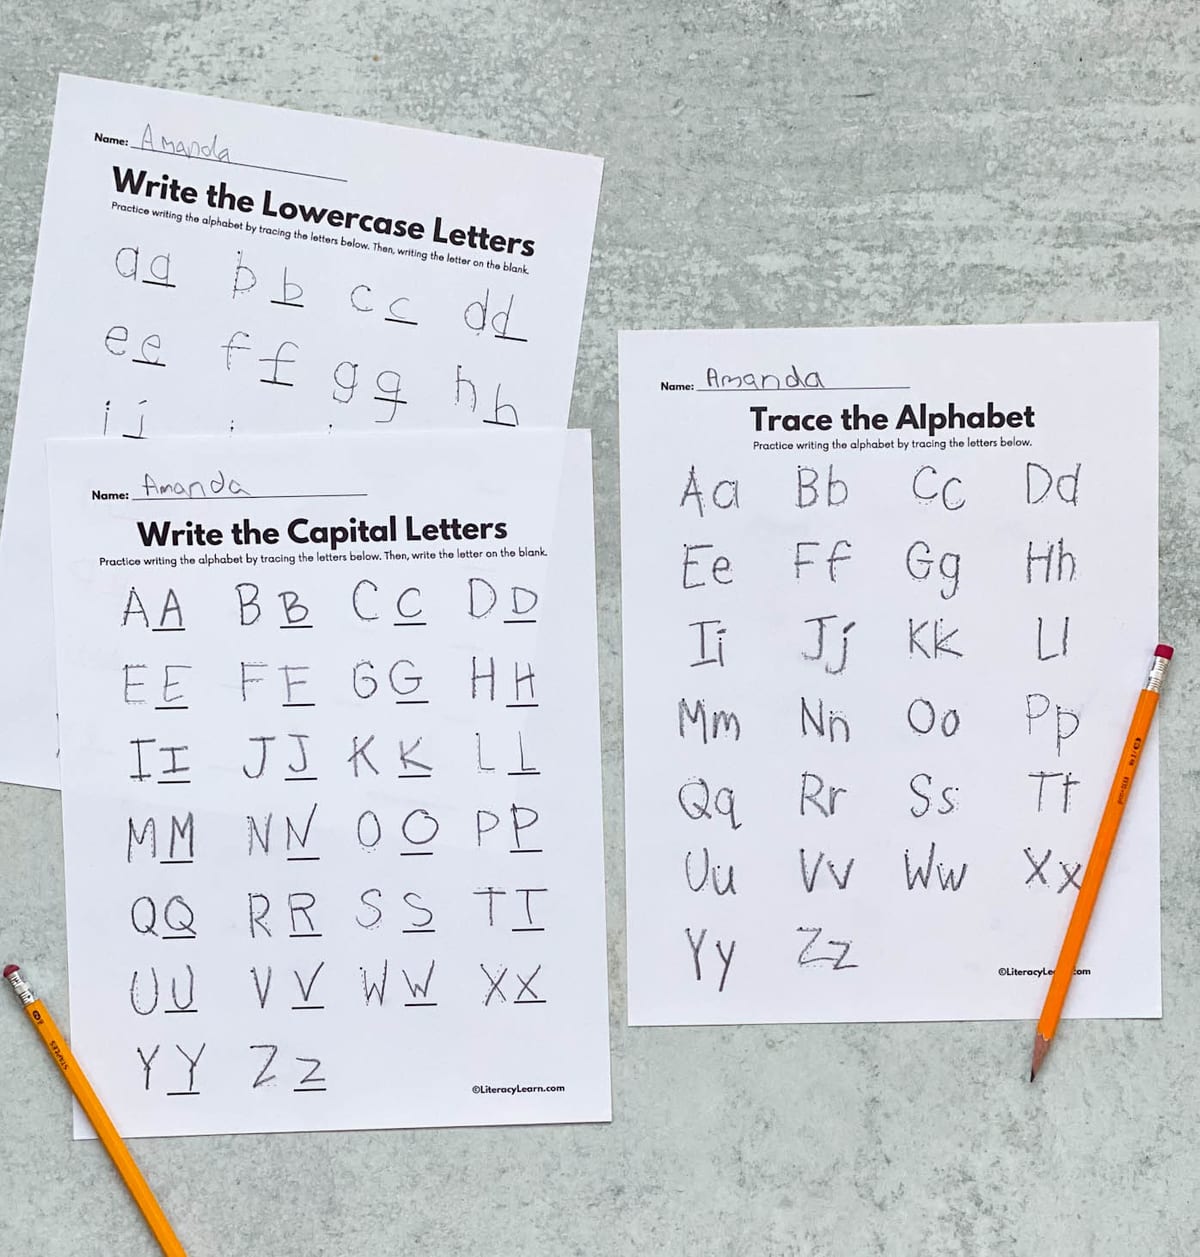
15. Teach proper letter formation.
This is a tedious task, but so important! And it’s a key indicator of reading success. Begin with letters that start the same and include the same features.
Use our free printable letter tracing printables (pictured above!) as long as kids have been explicitly taught letter formation.
16. Teach pure letter sounds.
Many times we’re tempted to add ‘uh’ to the end of letters. Kids say “G says /guh/,” No! Teach the pure sounds, “g says /g/,” and do not allow your students to add any extra sounds!
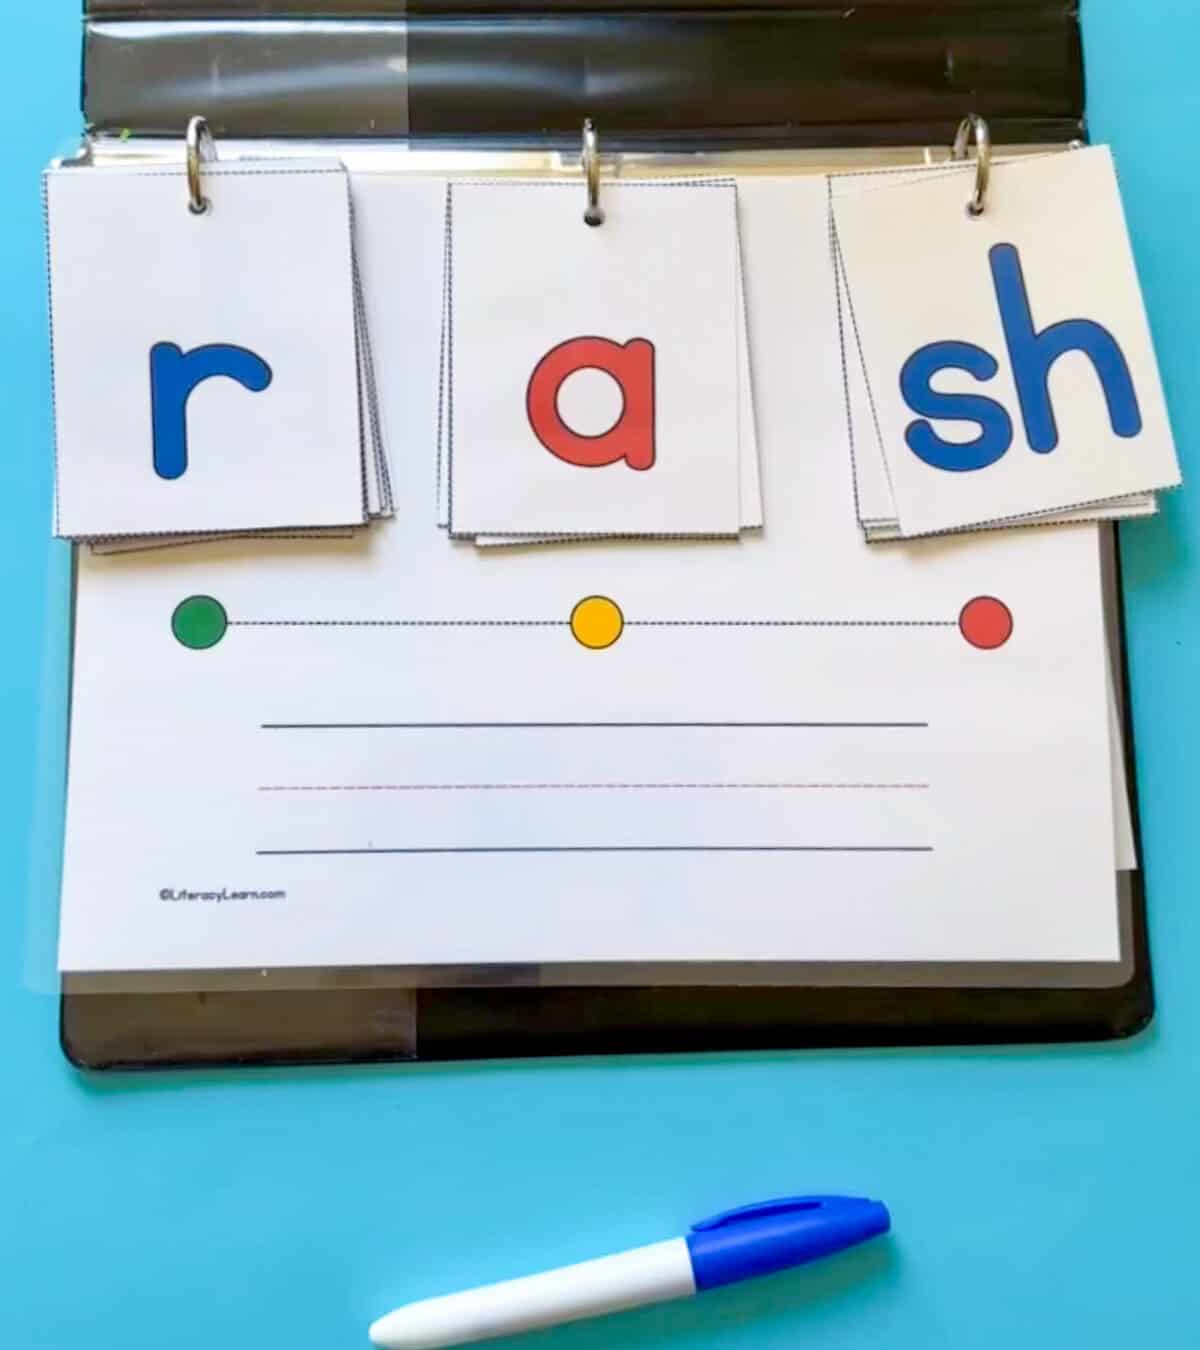
17. Blend sounds.
Start blending VC or CVC words as soon as children know a few letters and vowels. Use nonsense and real words and use a multi-sensory blending board (pictured above).
Need a resource for this? Get 32 no-prep blending sounds worksheets on TPT.
18. Write sounds.
Dictate sounds to kids. Say, “Write the letter that spells /b/.” Kids write the letter B while using Simultaneous Oral Spelling (S.O.S.) saying: “B spells /b/.”
19. Don’t teach confusing letters together.
The letters b/d & p/q are the trickiest. Choose one to focus on until the kids are firm in identifying and writing the letter. Only after they’re firm in one, then you can introduce and teach the other.
Practice visual discrimination if your students have a hard time with this.
20. Teach QU together.
The rule is, “Never a q without a U!” Teach kids to recognize Qu together!
21. Teach letters in an order that makes sense, not a-z.
There is no order in which letters MUST be taught, but you should follow a specific scope and sequence as you teach letters, and be sure that you teach at least two vowels so kids can begin blending. Use our free scope and sequence to guide you!
22. Match sounds to symbols.
Match the letters they see with the letters they hear. Many kids come to you already singing the ABCs, but they need practice with 1-1 and actually saying the letter names correctly (elemeno is still my favorite letter though!).

23. Use an Alphabet Arc!
This is a way to make sequencing the alphabet fun and engaging and multisensory. Get our Alphabet Arcs (pictured above) to build alphabet knowledge and letter recognition.
24. Build phonological awareness.
Continue to teach phonological awareness skills! PA is the first building block of reading. Included is word awareness, alliteration, phonemic awareness, syllable awareness, beginning sounds and rhyme.
25. Have fun!
Play lots of games! like Bingo, Memory, and other games that encourage kids to get up and move around and have fun while learning.
26. Write large letters.
Stand up when possible! Skywriting is becoming very popular, and writing on a vertical surface has many benefits to improving your students’ fine and gross motor skills.
27. Use different fonts.
Expose children to different fonts and the different ways letters can look. Sometimes q has a tail, sometimes it doesn’t. Sometimes capital I has two horizontal lines, and sometimes it looks just like a lowercase L.
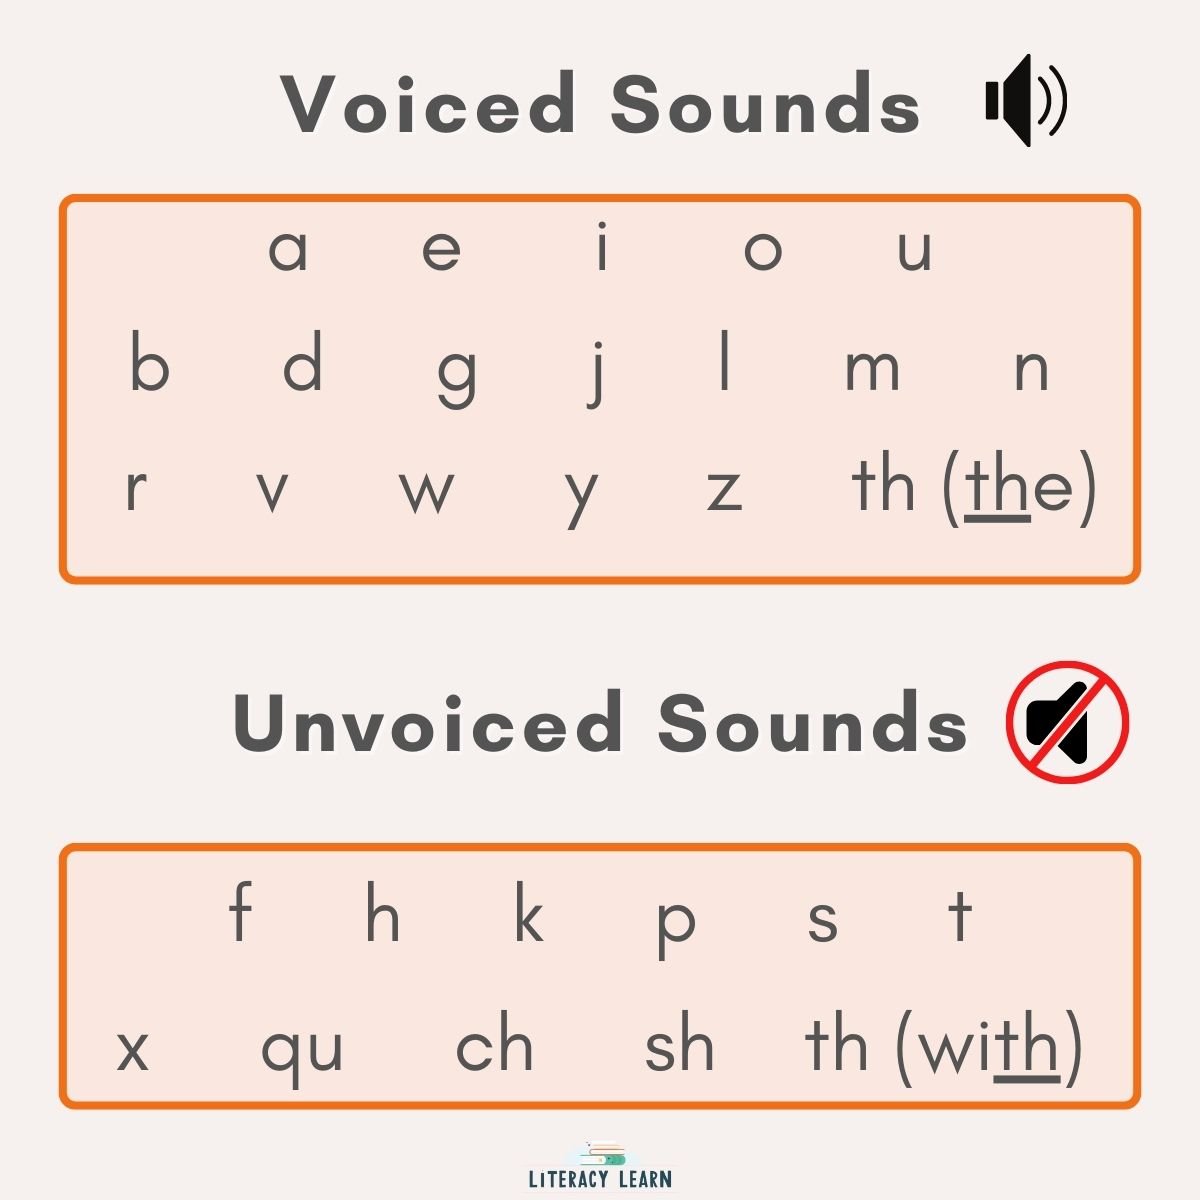
28. Teach letters as ‘voiced’ or ‘unvoiced.’
If you’re not sure what this means, try this: Place your hand over your voicebox and say the sound of a letter. If your voicebox vibrates, it’s voiced. If it doesn’t, it’s unvoiced.
👉 Voiced letters include: B, D, G, J, L, M, N, Ng, R, Sz, Th (voiced as in the), V, W, Y, and Z and ALL Vowels A, E, I, O, U.
👉 Unvoiced letters include: Ch, F, K, P, S, Sh, T, and Th (unvoiced as in thumb).
Learning these academic terms and the meaning behind them is a foundational skill that will help them learn various spelling rules in the future. Get this resource for voiced and voiceless activities.
29. Use a Sound Wall
A sound wall is a tool used within the classroom where all 44 sounds in the English language are displayed. This includes both consonant and vowel sounds. A sound wall is a support that helps kids make phoneme-grapheme connections and make sense of our language.
30. Use Embedded Mnemonics
Read our post about the effectiveness of embedded mnemonics to build letter-sounds connections and grab ALL THE THINGS you need to teach using this important scaffold.
“Across various studies… it has been found that such embedded mnemonic pictures can reduce the amount of repetition needed for kids to learn the letters and sounds, with less confusion, better long-term memory, and greater ability to transfer or apply this knowledge in reading and spelling.” -Timothy Shanahan
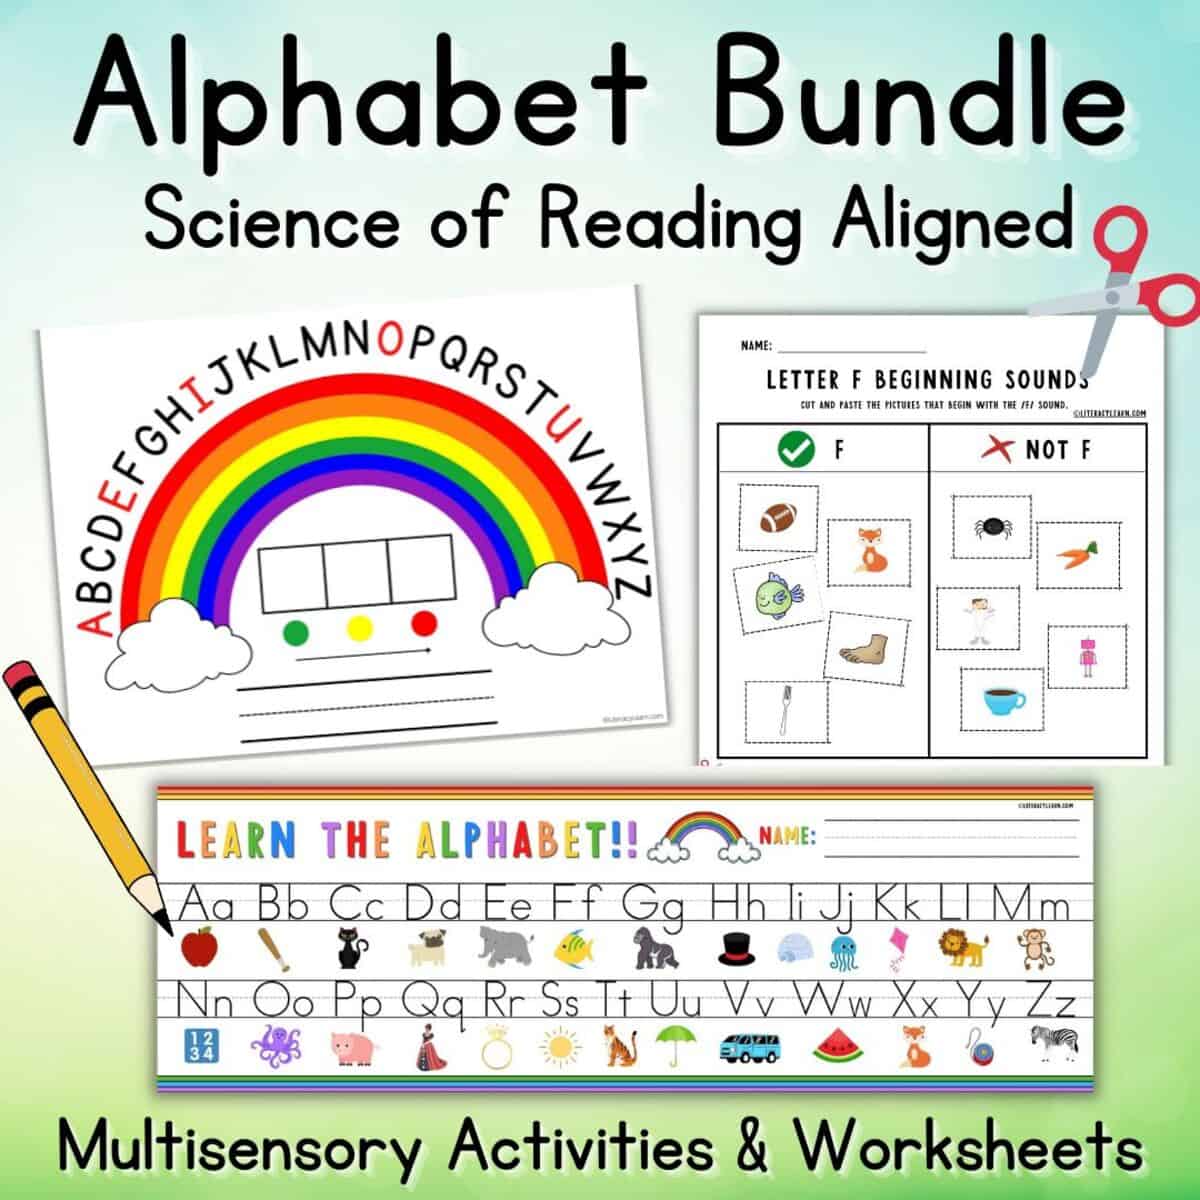
Looking for more resources to teach letters and sounds? Grab our Alphabet Bundle for Teaching Letters and Sounds on TPT!
Related Posts
DOWNLOAD TERMS: All of our resources and printables are designed for personal use only in homes and classrooms. Each teacher must download his or her own copy. You may not: Save our files to a shared drive, reproduce our resources on the web, or make photocopies for anyone besides your own students. To share with others, please use the social share links provided or distribute the link to the blog post so others can download their own copies. Your support in this allows us to keep making free resources for everyone! Please see our Creative Credits page for information about the licensed clipart we use. If you have any questions or concerns regarding our terms, please email us. Thank you!
Is there a way to easily print out these tips (plus any other teaching strategies you send in your emails?
Hi Jeanine,
I’d suggest registering for our paid newsletter: LL+. You’ll get everything delivered right to your inbox, and the format of all images and text can be easily printed with no ads. Plus, you’ll get access to one-click downloads and a whole freebie library. You can find out more information here.
Katie & Laura
Thank you so much for sharing these tips! Hand gestures and some moving activities are also good for enhancing their memories. It also makes learning more fun.
We agree! Integrating movement is especially important for young children and keeps them engaged in the learning. Thank you!
Katie and Laura